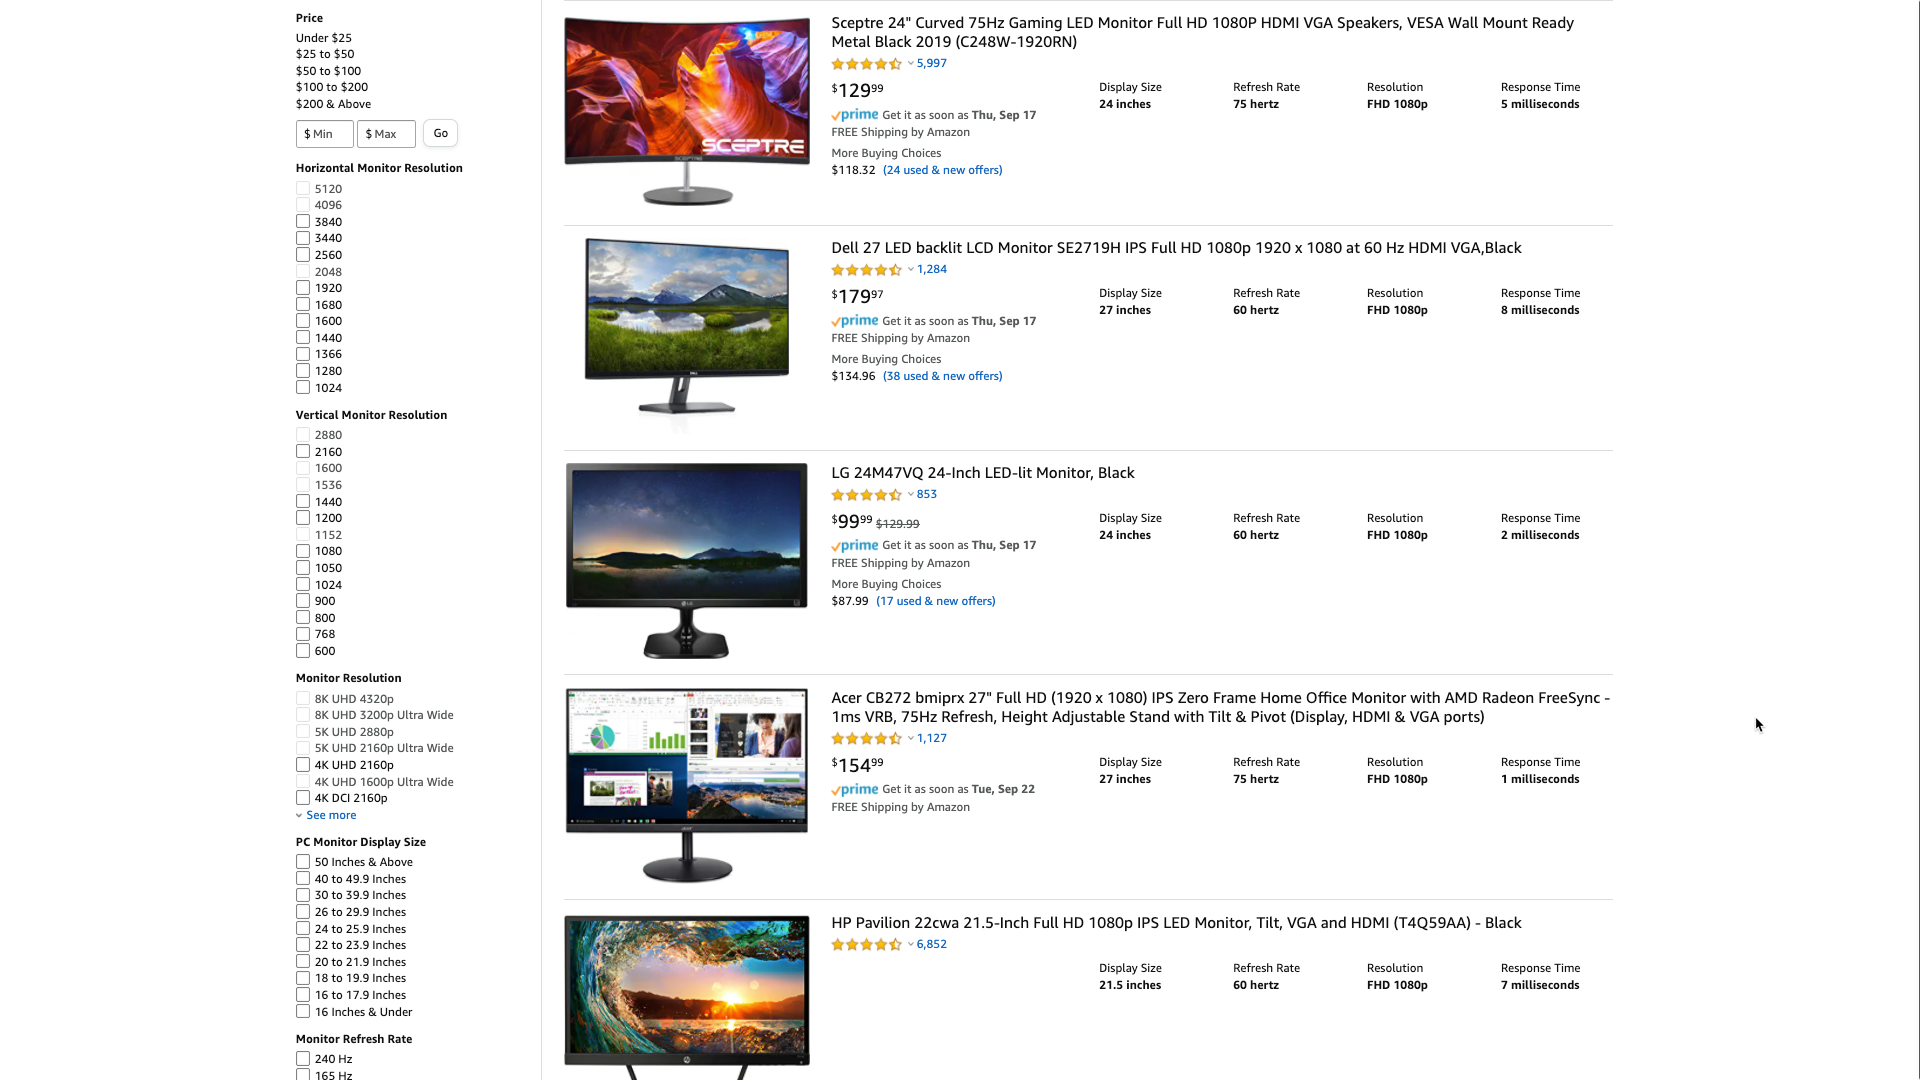
Meetings are better presented with two screens
In this post we’re going to cover a bit of a power user practice when presenting during a Microsoft Teams meeting, and that’s making the most of having two screens at your disposal. There are a bunch of benefits to having multiple screens, but the main ones are being able to have one screen for sharing all your content with everyone in your meeting while keeping everything else you need to see—like the attendees faces, the meeting chat, maybe some notes or other resources—on the other screen. For a video version of this post, press play below.
If you’re lucky enough to have two screens, you likely know how much of a difference they make. There’s a bunch of different ways you can do it: two monitors plugged into a computer, one laptop with a monitor connected, a laptop with a mobile screen plugged in, a laptop wirelessly connected to a tablet. Doesn’t really matter how you do it, the second you add the extra screen, your potential increases dramatically and you’re able to absorb and manage a lot more at the same time. Though it’s also much more space for making a mess and losing your apps. So there’s that.
Multiple screens work especially well when presenting in a Microsoft Teams meeting. I almost never present in a Teams meeting without having a second screen. I’m absolutely jaded, I’ll admit. The two screens let me bucket my content into “my stuff” and “their stuff” while I’m presenting.
It avoids the inevitable awkwardness of bouncing around between windows when using only one screen. Consider all the extra stuff you see when you use only one screen: the Windows taskbar or macOS dock, the menu bar at the top, the other apps that are open, the jumping around, and if you’re using PowerPoint, it takes up your whole screen and you don’t even get presenter view. Well, that is if you’re not using my tip on how to present a PowerPoint deck correctly during a Teams meeting.
While the second screen isn’t a requirement for a productive Teams meeting, it definitely makes a difference. So here’s a quick overview of how I use the two screens in a typical meeting where I’m presenting a topic or concept where I need to share information but also keep tabs on the meeting itself.
Managing your screens
There’s a bunch of ways to connect multiple monitors and I won’t get into the nitty gritty there. You’re on the internet right now and there are likely tens of thousands of articles and videos that cover that already. One thing I will say is you want to be very aware and well practiced in how to manage the display layouts on your device. Here are the instructions for managing multiple monitors in Windows, macOS and ChromeOS (Chromebooks).
From here, you can move them around and decide how they’re laid out. I have to tweak mine pretty frequently, though that’s likely because I use the same laptop at home and on the go, always with at least one additional monitor, so sometimes my settings aren’t exactly what I want when I transition. The point is, once you get things perfect, don’t let yourself forget how to tweak these in the future.
Set up the front of house
Think of your sharing screen as a stage. You’re presenting things to an audience and you want that content to be clean, professional, and high quality. At least I generally do. It’s a dedicated space for me to drop all the apps I might use when sharing with them. Here are some tips for making the most it during your meeting.
Your shared screen should be your secondary monitor
The screen you present should always be the secondary screen. It should be the one that doesn’t have the Windows taskbar or macOS dock on it. That keeps it free of unnecessary buttons and interface distractions. It also means you won’t see if I Alt-Tab (Command-Tab on Mac) between apps on the other screen, which is likely, because Alt-Tab is one of the most useful computer tips for this situation (and using your computer in general). Nor will you see notifications if you happen to forget to enable do not disturb in your operating system. Though you should of course enable do not disturb. Here’s how to enable the respective version of do not disturb in Windows, macOS, and ChromeOS.
You want to set up your screen to have your necessary windows open ahead of sharing if possible. Though feel free to keep other apps on your primary screen as a staging ground, of course. Just don’t waste people’s time by looking for apps or webpages live during the meeting if you can avoid it. Try to have them open, ready, and loaded to the correct content.
Split screen is really useful
Windows and macOS both offer a way to basically pin and split two apps on your window so they take up the whole space. You can use the included slider to adjust which app takes up more space. This is a great way to show off two apps in a clean way. Here’s how the same concept works in Windows, macOS, and ChromeOS.
Make use of multiple desktops
Windows and macOS both have a feature where you can expand an app into full screen mode and it creates a separate desktop. These are really useful because you can swipe between them quickly (Windows-Tab on Windows and four-finger swipe on macOS), making various content accessible without cramming them all into one screen. I use this all the time to jump between what I need to show off.
The multiple desktop concept aligns closely with the split view feature I mentioned before. You can create desktops that are combos of multiple apps so you can jump between various related pairs of apps if it makes sense to do so.
Here’s how the same concept works in Windows, macOS, and ChromeOS.
Use the built-in camera to show your face with your content
One downside to sharing your screen in Teams is your face is no longer prominent to the people you’re presenting to. But you can use the built-in camera app in Windows or ChromeOS or QuickTime Player in macOS to show the live feed of your camera alongside your content. Check out my recent post for an in-depth overview of how to do that.

Bring in mobile devices to sketch on your shared screen
If you have a mobile device—and let’s be real, who doesn’t these days?—you can actually use Microsoft Whiteboard to sketch and write by opening the whiteboard both on your phone or tablet and in a browser on your presentation screen. So you can be writing notes and presenting them at the same time directly from your mobile device, to your presentation screen, to your meeting participants. Check out my recent video for an in-depth overview for the ins and outs of that.
Sometimes your face should be primary, so un-share your screen when it makes sense
It’s perfectly okay to jump between sharing and not sharing depending on the context of what you’re talking about. Just like if you were presenting slides in the real world, sometimes the slides aren’t relevant while you’re talking through a story or contextual tangent. In that case, people would pay attention to you.
(Pro tip: with PowerPoint you can type W or B and the screen will turn white or black so the slides don’t distract people while you’re talking. Press W or B again to return to the slides.)
The same thing happens in online meetings. If you’re talking about something that doesn’t require the screen share, un-share your screen! Humans react more to other humans anyway so they’d probably like the break from seeing a screen anyway. When you’re ready to dive back into content, share your screen.
I just hate it when I see people share their screen and never leave the screen even when there are plenty of times during the presentation when the screen has little to do with what the presenter is talking about. Hopping between your face and your screen isn’t bad practice; in fact it’s good practice! Shake things up a bit and keep people awake!
Set up the back of house
Your primary screen—the one that has your Windows taskbar or macOS dock, and the desktop that will be called “Screen 1” in the Teams sharing rail—is the place where you’ll keep all the apps you need to manage what you’re presenting.
First and foremost, this likely means the Teams meeting itself. You want to be able to see the meeting attendees and, at least I find, most importantly the meeting chat. Now that Teams meetings occur in a separate window, I pretty much immediately minimize the main Teams app once the meeting starts.
There are two reasons for this: first is to just minimize the number of active windows I have but the second and more infuriating reason is because—at least on macOS—when I click the Teams icon in the dock, the main Teams app window is what comes up first which is literally the exact wrong window for me.
The other thing I generally use the primary monitor for is taking notes. I use OneNote, but plenty of people use Evernote or other note taking apps. I like to split the Teams meeting and OneNote so I can manage what was asked and agreed to during the meeting while seeing the people in the meeting at the same time.
Lastly, if I’m presenting a PowerPoint deck in the regular mode, the slide takes over the entire secondary monitor and presenter view—complete with its preview of the next slide, your slide notes, and a way to skip around to other slides—takes over your primary screen. That makes the primary screen really valuable to me so I can manage my presentation. If I need to jump between apps—say I want to check in on the meeting, for example—I’ll use my trusty Alt-Tab (Command-Tab on Mac) to bring Teams to the forefront, then go back to PowerPoint to keep presenting.
And let’s be real. Sometimes the meeting goes off into ridiculous tangents that I have no control over where attendees are discussing things—I’m usually talking to customers here, so I don’t have the ability to tell them to stop—and I pull up reddit or twitter to pass that time. Don’t act like you haven’t done that yourself.
Wrap up
As has been a theme with some of my more recent posts, this one isn’t so much about Teams as it is about the content you’re working with. Two screens can make a huge difference in everyday work life, but it really shines when you’re in a Teams meeting and you’re presenting and sharing your screen. With these tips, hopefully you can find some ways to improve how you share your screens.
And if you don’t have a second monitor, consider investing in one. I’m not saying they’re cheap per se, but they’re not nearly as expensive as they used to be. In fact, given the major switch to remote working and distance learning, you might be able to convince your employer to cover it. And if you have an iPad, you can actually use that as a second monitor for a Mac laptop already. Just look into Sidecar.

Anyway, hopefully you found this useful. If you have two monitors and you’ve been using them with Teams, I’d love to hear what else you’re doing to make the most of them. Got any tips or hacks that could help everyone else? Leave them in the comments. Thanks for reading and happy screen juggling.


Obviously you have an opinion, so share it!